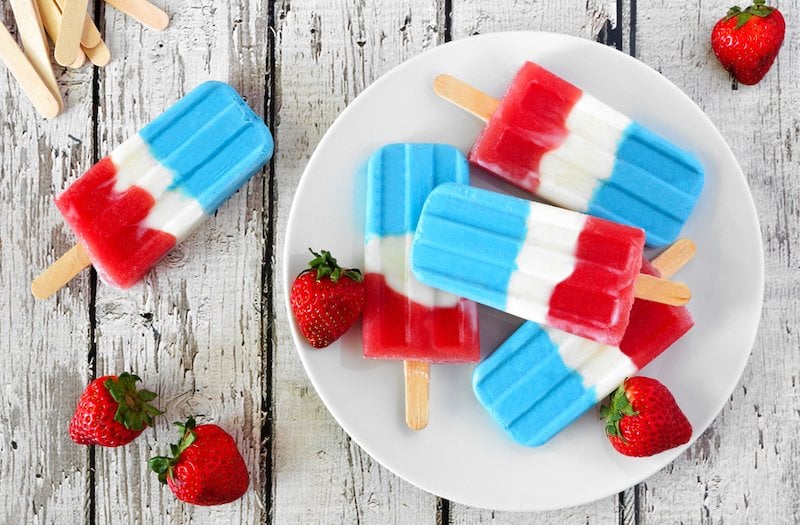
Does anything taste more like the 4th of July than an ice-cold red, white, and blue popsicle? As far back as my memory takes me, I’m hard pressed to recall a more quintessential summer experience than standing in my aunty’s backyard, glistening in the aftermath of a water balloon fight, hastily licking my way through an ice pop as saccharine popsicle sweat melts down my hands. Independence, indeed. Soon followed by a hypnotic firework display and then, exhausted as a kid could get, right to bed without insurrection.
Those were the days.
Back then, freezers were stuffed with those plastic-wrapped, store-bought FirecrackersⓇ, chock-full of frozen high fructose corn syrup and a 1% or less of a long, nearly unpronounceable list of gums, fillers, and coloring agents. Yikes.
Thankfully, things have changed and you can make homemade ice pops with all-natural ingredients and no added sugar. And guess what—they’re not just for kids!
Today, I’m going to show you how to make homemade popsicles that are as natural as they are colorful, and as anti-aging as they are addictive! (Yes, you read that right!)
Why Homemade Ice Pops Are Better Than Store Bought
Now, prior to just recently, I didn’t know how to make homemade popsicles. And it wasn’t until I started pouring through recipes did I realize the potential benefits of homemade over store bought, even when it comes to that revered 4th of July staple: the red, white, and blue popsicle.
1. They’re better for your body
Back in the dog days, if your parents gave you a coveted red, white, and blue popsicle, it was a treat. Too many would wire you and rot your teeth—so the threats went. And that’s pretty much true. Unlike homemade ice pops, store-bought brands are usually loaded with ultra-sweet, refined sugars with excessive amounts of fructose.
Fructose is the sweetest of the three sugars (sucrose and glucose are the others) and for that reason it’s often used to make foods more appealing (*ahem, addicting, ahem*). The amount of fructose used in processed foods is often too excessive to healthfully absorb and can cause insulin imbalance; whereas it’s a lot more difficult to overdue it on fructose eating whole fruits. Hence why you don’t want to go overboard on fructose. [1]
Fresh fruits on the other hand, like those used in these homemade ice pops, are very healthy for you. [2]
2. They taste better
Fact.
This may seem subjective, but whole-food, homemade ice pops taste better than anything you can buy at the store. We’re aiming to get you a red, white, and blue popsicle, but you can vary the fruit you use depending on taste preference.
For instance, I suggest strawberries for the red color, but other people use beets (which are also sweet), and I’d bet pomegranate works great too. Just watch out—it stains!
3. Better for the environment
When I was first learning how to make homemade popsicles, I didn’t even think about the potential environmental benefits. But consider this:
By the end of the year, we’ll have produced 381 million tons of plastic (a number expected to double by 2034) 190.5 million tons of which is single-use, and 269,000 tons of which are in our oceans. [3]
The point being, the world doesn’t need any more wrappers or garbage. You can make homemade ice pops in reusable containers, and if you use natural wood popsicle sticks then every last bite will be digested or biodegraded. (Unlike the treated wood and plastic wrappings of that pre-packaged red, white, and blue popsicle excuse.)
Pro tip: You can add natural wood popsicle sticks to your compost! Want more eco-conscious ideas? Check out these seven easy tricks for reducing your environmental footprint!
How To Make Homemade Popsicles (The Healthy Way)
Popsicles are one of the easiest treats to make, and a good red, white, and blue popsicle recipe is a staple for any summertime cookbook. They require just a few things:
- Popsicle sticks… kinda goes without saying, but you definitely don’t want to get to the end of the recipe and realize you forgot them.
- A blender with a pulse setting helps you get the perfect consistency.
- A popsicle mold to get the perfect shape. Molds make it simple to craft a red, white, and blue popsicle that looks as good as anything you can find in the store.
This popsicle recipe also calls for a few out-of-the-ordinary ingredients that really take taste and nutrition to the next level:
- Greek yogurt will give your popsicles a smooth and creamy, almost ice cream-like texture. It also adds protein and probiotics for some added healthy benefits.
- Organic food coloring. Now, I actually prefer to let the fruits make the colors but, if you want a more saturated red, white, and blue popsicle look, then seek out high-grade organic food coloring. That cheap stuff is a no-go for healthy lifestyles.
- Multi-collagen peptides. Your secret, anti-aging ingredient! Collagen is what gives our skin its elasticity, our hair its luscious shine, and our joints their youthful movement. [4, 5, 6] Collagen declines rapidly as we age, so restoring your body’s collagen supply helps you both look and feel younger! If you’re fighting joint pain, thinning hair, or wrinkles, use SkinnyFit Super Youth Unflavored 5-type collagen to get all the benefits without any traceable taste.
Red, White, And Blue Popsicle Recipe
Ingredients
- 1 cup chopped strawberries
- 1 cup blueberries
- 1 banana chopped
- 3 cups vanilla Greek yogurt, divided into three equal parts
- 3 scoops Super Youth unflavored collagen
- Water
- Red and blue organic food coloring (optional)
Steps
- Repeat step 1 with each type of fruit, using blue food coloring with the blueberries if you want the color to be a bit more blue, again, optional.
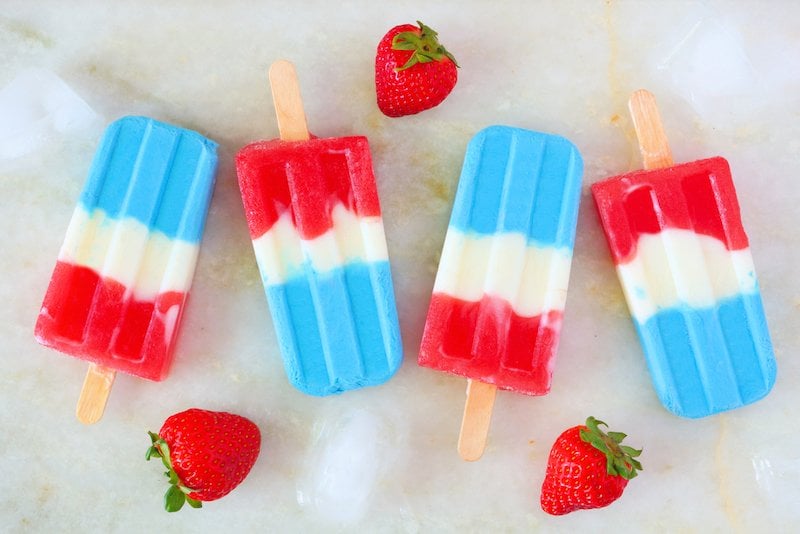
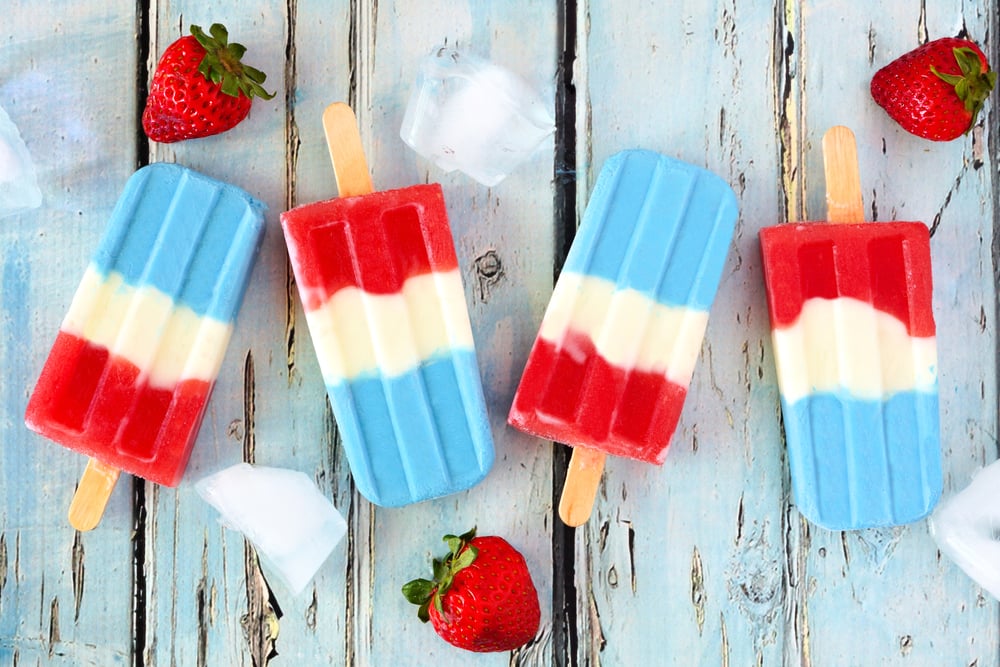
- Assembly: Start by adding a layer of strawberry mixture to the bottom of each popsicle mold. Add your popsicle sticks and allow that layer to freeze for about 2 hours. Repeat with a layer of the banana, and then again with the blueberry mixture allowing each layer to freeze before adding the next one.
- Allow popsicles to freeze fully before serving.