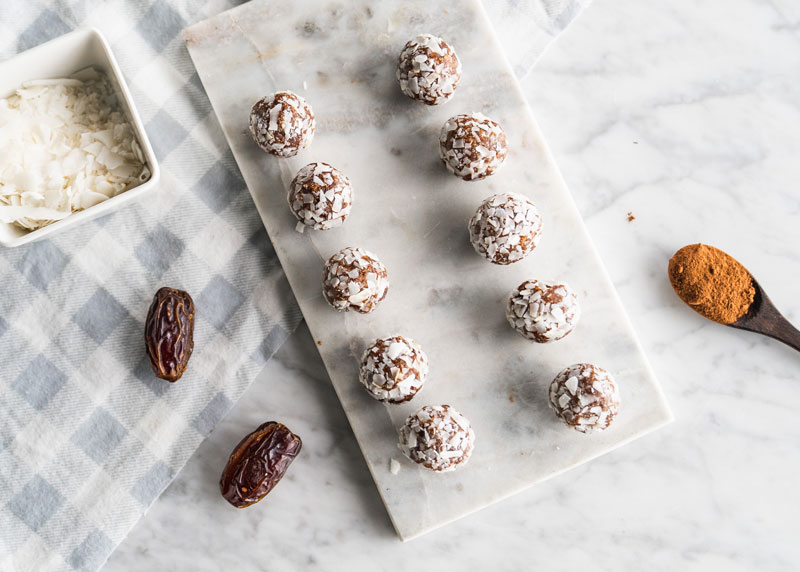
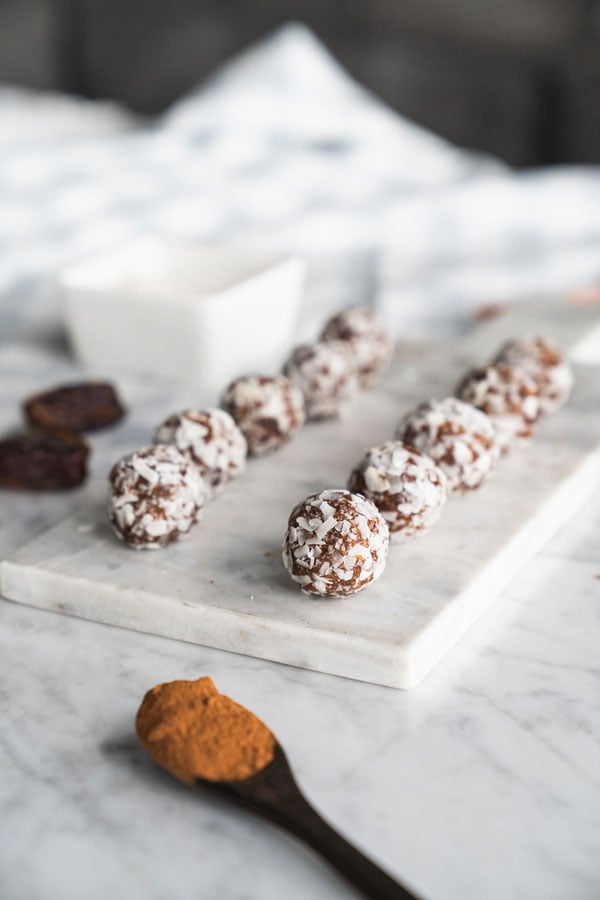
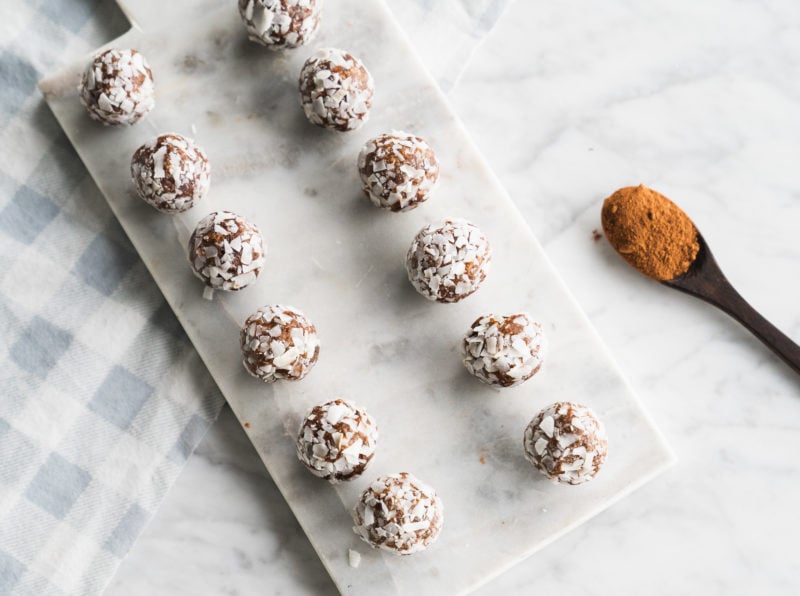
Baking is a serious skill that not everyone is blessed with. Unless you had a Granny that really showed you the ropes in the kitchen, it’s likely that baking isn’t a part of your repertoire. In general, baking is a lot more precise than cooking—which means there’s A LOT more room for mistakes and a lot LESS room for adding your ingredients like Emeril Lagasse…“BAM!”
But, if you love baked goods as much as, well… everyone, but you aren’t exactly Paula Deen, you are going to love this chocolate energy bites recipe because it tastes like a decadent dessert right out of the oven, but requires absolutely no baking! 🍫

5 Reasons To Make These Chocolate Energy Bites
I could go on and on about why you need to try these little balls of heaven… but I’ll spare you the long, drawn out story and keep it short and sweet. If you’re looking for the top five reasons why making these chocolate energy bites needs to be at the top of your to-do list this week, here they are:
- They are naturally sweetened. “Okay, hold it right there lady… are you trying to tell me there is no added sugar in this so-called dessert?” Why YES, that’s exactly what I’m saying! 😏 This energy bites recipe gets its natural sweetness from date fruits! Dates are super high in fiber and packed with antioxidants like flavonoids, carotenoids, and phenolic acid which can fight diseases and improve digestion. Their natural sweetness makes them a great alternative to regular sugar when you want to add a little texture to your recipe.
- There is NO baking necessary. Yup. These healthy no-bake chocolate energy bites won’t even go near an oven so there is no way you could ever mess these up! All you have to do is mix the raw ingredients together and let them chill out in the fridge.
- They’re good for your brain. You know how there are certain foods that actually look like what they are good for? Well, it may just be a coincidence that the shell of a walnut looks like a tiny brain, but studies suggest that walnuts can help reduce oxidative damage and inflammation in your brain! It’s also shown to improve memory and processing speeds. And guess what? This chocolate energy bites recipe is packed with delicious walnuts! Woohoo! 🧠 #brainfood
- They make great on-the-go snacks. How many times have you been out and about and suddenly found yourself craving something sweet? One of the best parts about this recipe, aside from it tasting like a slice of german chocolate cake, is that it curbs your appetite and helps keep you feeling satiated until your next meal. These healthy no-bake energy bites actually contain a hydrolyzed collagen peptide that is more filling than other types of proteins—helping you with your weight loss goals.
- You only need 5 main ingredients. While some energy bite recipes call for a long list of ingredients, this recipe only requires five primary ingredients that you likely have around your house already! Dates, walnuts, shredded coconut, cocoa powder, and Super Youth Chocolate Cake. Remember how I said this recipe tastes like a decadent dessert, well, that’s all thanks to Super Youth Chocolate Cake. It’s not only incredibly easy to add to any recipe but also contains a blend of five types of collagen peptides from three different sources making it the best collagen peptide blend on the market.

How To Make Healthy No-Bake Chocolate Energy Bites
Making a batch of healthy no-bake chocolate energy bites is easier than you think. The only kitchen appliances you’ll need is a food processor. Simply mix all the ingredients in a food processor, and roll the “dough” into 1 inch balls. Roll the energy bites into some shredded coconut flakes, pop them in the fridge for about 30 minutes, and voila!

Healthy Chocolate Energy Bites Recipe
Ingredients
- ½ cup walnuts
- 1-2 scoops of Super Youth Chocolate Cake
- 15 whole pitted dates, roughly chopped
- ½ cup shredded coconut, unsweetened (divided in half)
- 1 ½ Tbsp cocoa powder
- 1 pinch salt
- 1 Tbsp water
Steps
- Place walnuts in a food processor and pulse until roughly chopped.
- Place ¼ cup of shredded coconut into a small bowl and set aside.
- Add the remaining ingredients into a food processor and mix until well blended.
- Using a tablespoon measure, spoon out mixture and roll into individual balls. You can use plastic gloves during this step to keep your hands clean, but if you don’t have any, here’s a tip—wet your hands with water before starting the rolling process to avoid excess batter to stick to your hand.
- Coat each ball in the reserved 1/4 cup shredded coconut.
- Place on a parchment covered baking sheet and refrigerate for at least thirty minutes until they harden.
- Store in the fridge in an airtight container or plastic bag for up to two weeks.